Homeowner’s Checklist for Pre-Photoshoot Preparation
Declutter and Clean
Remove unnecessary items from countertops in the kitchen and bathrooms.
Tidy up living areas, bedrooms, and dining areas, removing any items that are not essential to the room’s function or aesthetic.
Ensure all floors are vacuumed or swept, and surfaces are dust-free.
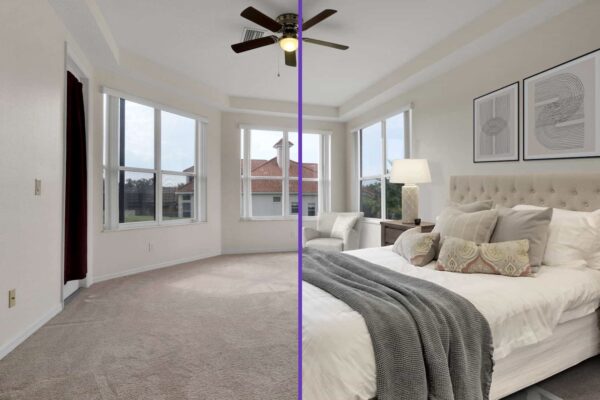
Maximize Natural Light
Open all blinds, curtains, or shutters to let in as much natural light as possible.
Clean windows for optimal light transmission.
Bathroom Prep
Clear the shower and bathtub of products – aim to have very minimal or no items visible.
Close toilet lids.
Hide personal items like toothbrushes, razors, and toiletries in cabinets or drawers.
Ensure towels are clean, matching, and neatly hung or folded.
Kitchen Prep
Ensure the sink is empty and clean.
Hide small appliances if they clutter the countertop.
Remove fridge magnets, papers, photos, etc.
Bedroom Prep
Make sure all beds are neatly made.
Clear nightstands of personal items.
Medicine
Store all medicine out of sight, ideally in the medicine cabinet.
Laundry
Empty or close laundry baskets.
Ensure no laundry is visible – either in the laundry room or elsewhere in the home.
Pets
Arrange for pets to be out of the house or secured in a specific area.
Remove pet items such as bowls, toys, and litter boxes from view.
Outdoor Areas
Mow the lawn and tidy up the garden.
Clean the pool, if applicable.
Remove any seasonal decorations that may date the photos.
Personal Items
Remove or hide any items that are overly personal such as family photos, religious symbols, or political items to allow potential buyers to envision themselves in the space.
Lighting
Turn on all lights in the house, including accent, overhead, and even appliance lights. This helps create a warm and inviting atmosphere.
Replace any burnt-out bulbs and consider using bulbs with the same temperature (color) for consistency in the photos.
Clean light fixtures and lampshades for optimal brightness.
Ceiling Fans and Electronics
Turn off all ceiling fans. Moving fans can blur in photos.
Turn off televisions and computer screens to avoid distractions in the photos.
Furniture
Arrange furniture to showcase the function of each room, while allowing for unobstructed pathways. You may need to remove some furniture pieces to avoid a crowded look.
Fluff and arrange pillows and throws on sofas and chairs.
Closets
Tidy up visible closet spaces. Potential buyers will be interested in storage space, so it’s worth it to present closets in a neat and organized manner.
Garage Organization
If the interior of the garage will be photographed, take time to organize and clean this space. Remove excess clutter, sweep the floor, and arrange tools or equipment neatly. This can help potential buyers visualize the space for their own use.
If both the listing agent and homeowner agree that the garage will not be photographed, you can use it as a temporary storage space to help declutter the home.
Mirrors and Glass Surfaces
Clean mirrors and glass surfaces. Fingerprints or smudges can catch light and show up in photos.
Trash Cans
Empty and hide all trash cans, both in the house and outside.
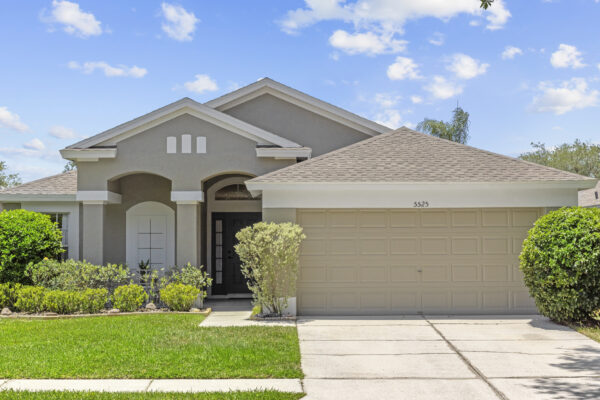
Curb Appeal
Don’t forget about the first impression. The front exterior is usually the first photo potential buyers will see. Sweep the entryway, remove any cobwebs around the front door, and make sure the house numbers are visible.
Vehicles and Parking
Remove all vehicles from the driveway and do not park directly in front of the house. This allows for clear and unobstructed photos of the home’s exterior.